I/O Configuration and Triggering Callbacks
Configuring I/O Ports
Each node consists of input and/or output ports that enable communication (topics, services and so on) between the other nodes in MOV.AI flow and subflows. The I/O Configuration section lets you define the connections and messages they send between them. Each port configuration defines its direction (input  , output
 ![]() or both), as well as the Transport/Protocol, Package and Message that is communicated.
or both), as well as the Transport/Protocol, Package and Message that is communicated.

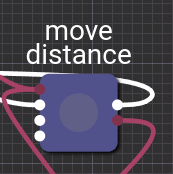
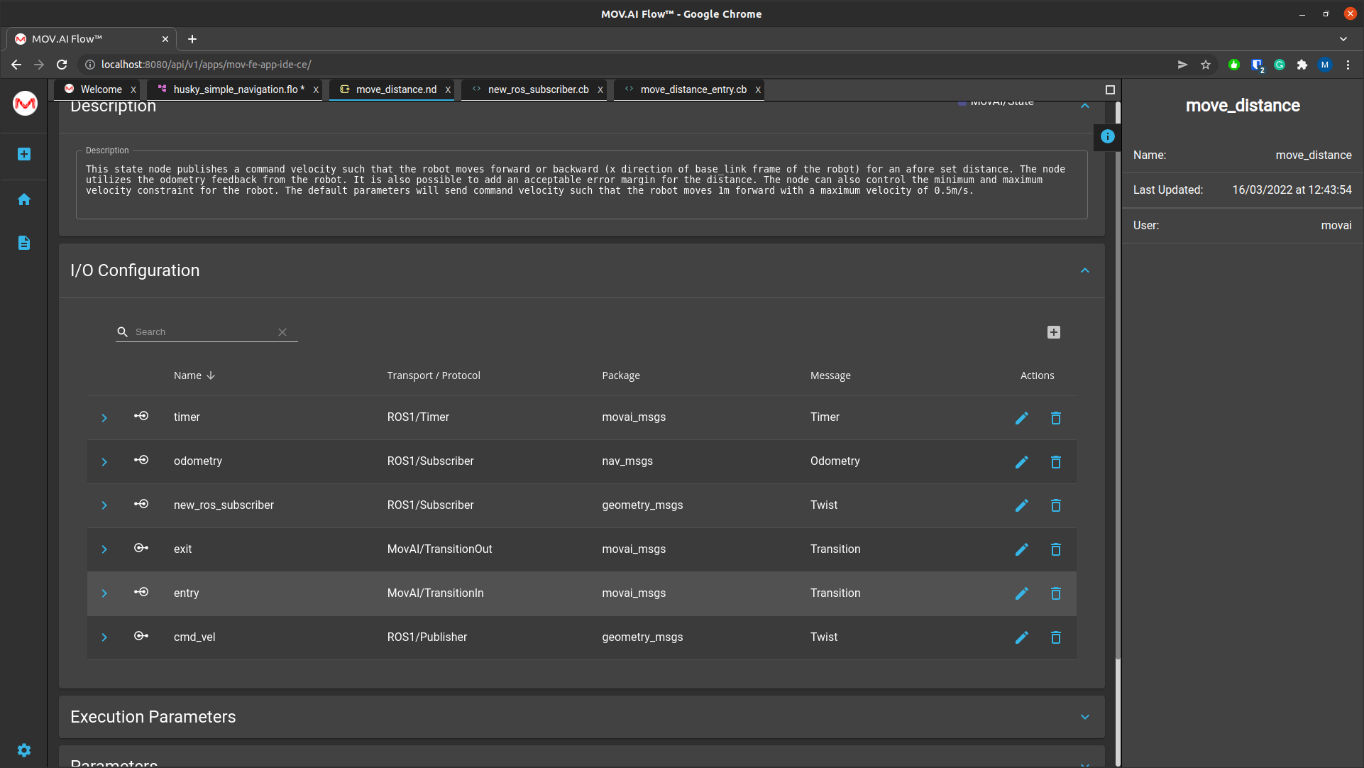
For example, the five rows in the I/O Configuration section (shown above) are represented by the five dots (shown below) that appear on the left side (input ports) and the right side (output ports) of the distance node in the flow –
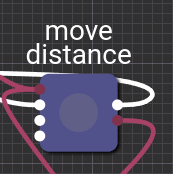
Modifying the Port of a Node
To modify an existing port of a node's I/O configuration –
- Display the Explorer on the left by clicking the Explorer
 button and then expand the Nodes branch to list all the existing node templates and then click on a Node template. Alternatively, you can open a flow and then double-click on the node in a flow to edit it.
 - Expand the I/O Configuration section of the window.
- Click the Edit
 button on the right of the port to be configured.
Adding a Port to a Node
To add another port –
Click the Add  button in the top right of the I/O Configuration section. A new row appears at the bottom of the list.

To configure a new (input or output) port –
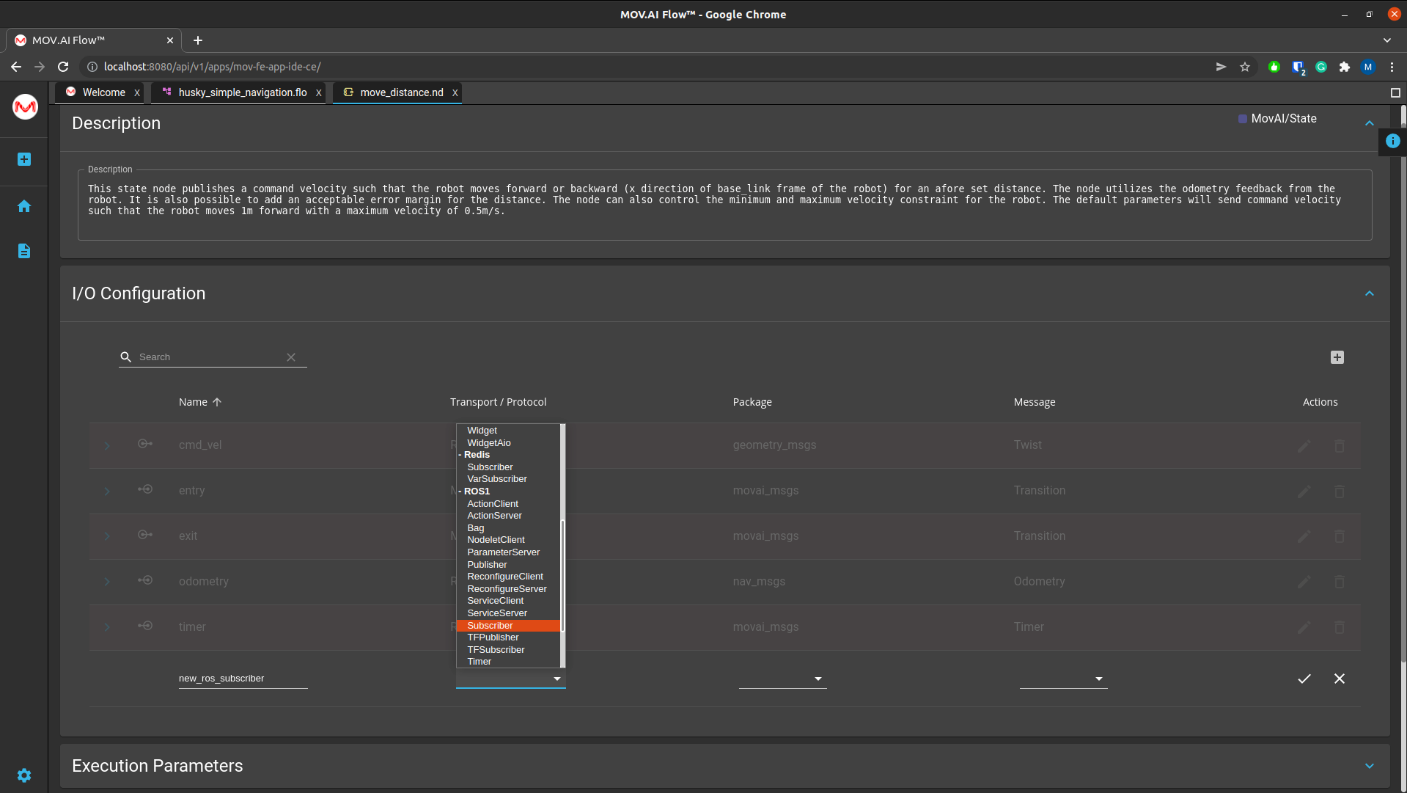
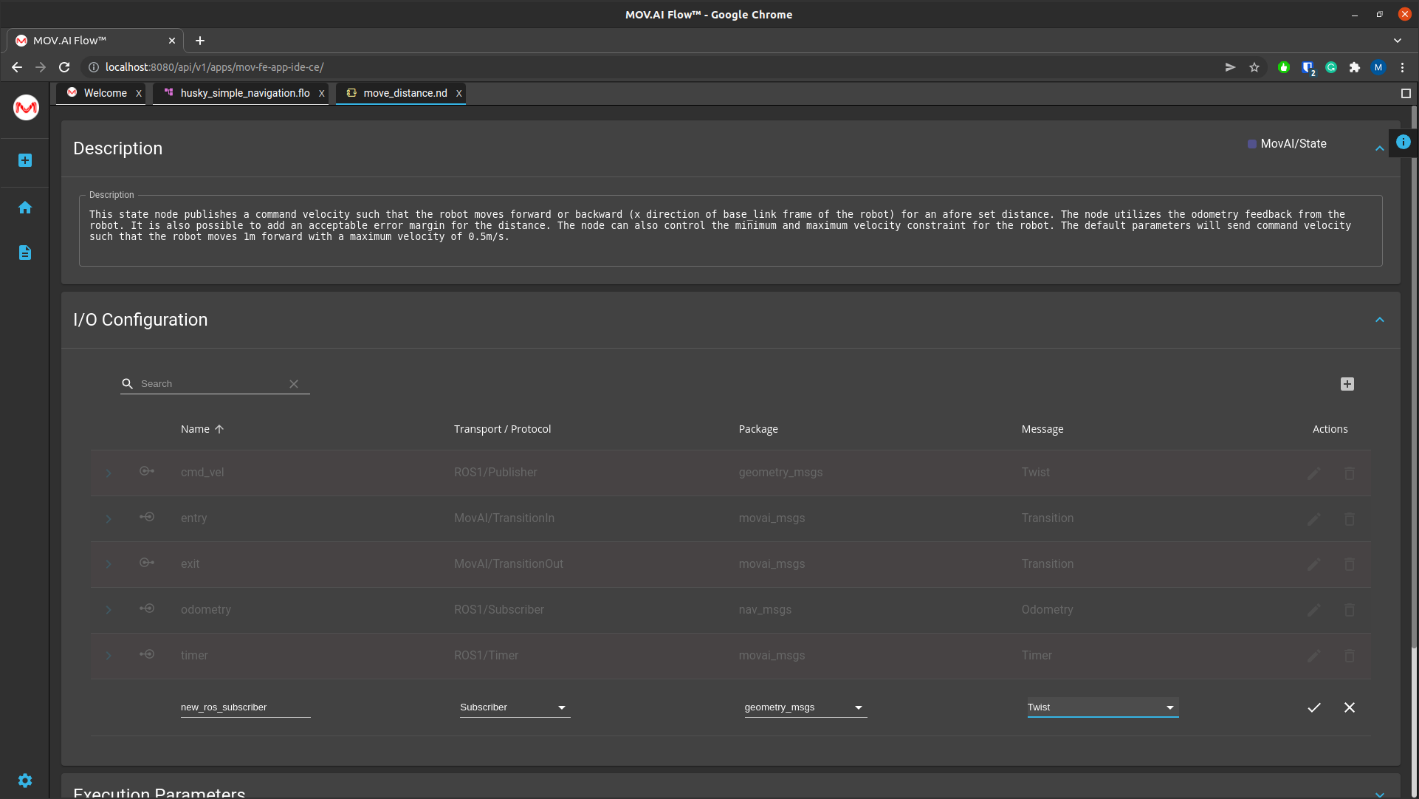
Type in the name of the new port and then use the dropdown menus to select the Transport/Protocol, Package and Message. The options that are offered to you in the dropdown menus are dependent on your previous selections in these dropdown menus.
For example, the Transport/Protocol dropdown menu provides a selection of Transport/Protocols. For example, you might select ROS1/Subscriber from the dropdown menu. The protocol determines whether this is an input, output or input/output port. For example, a Subscriber is an input port.
For example, the Package dropdown menu provides a selection of packages that contain messages.
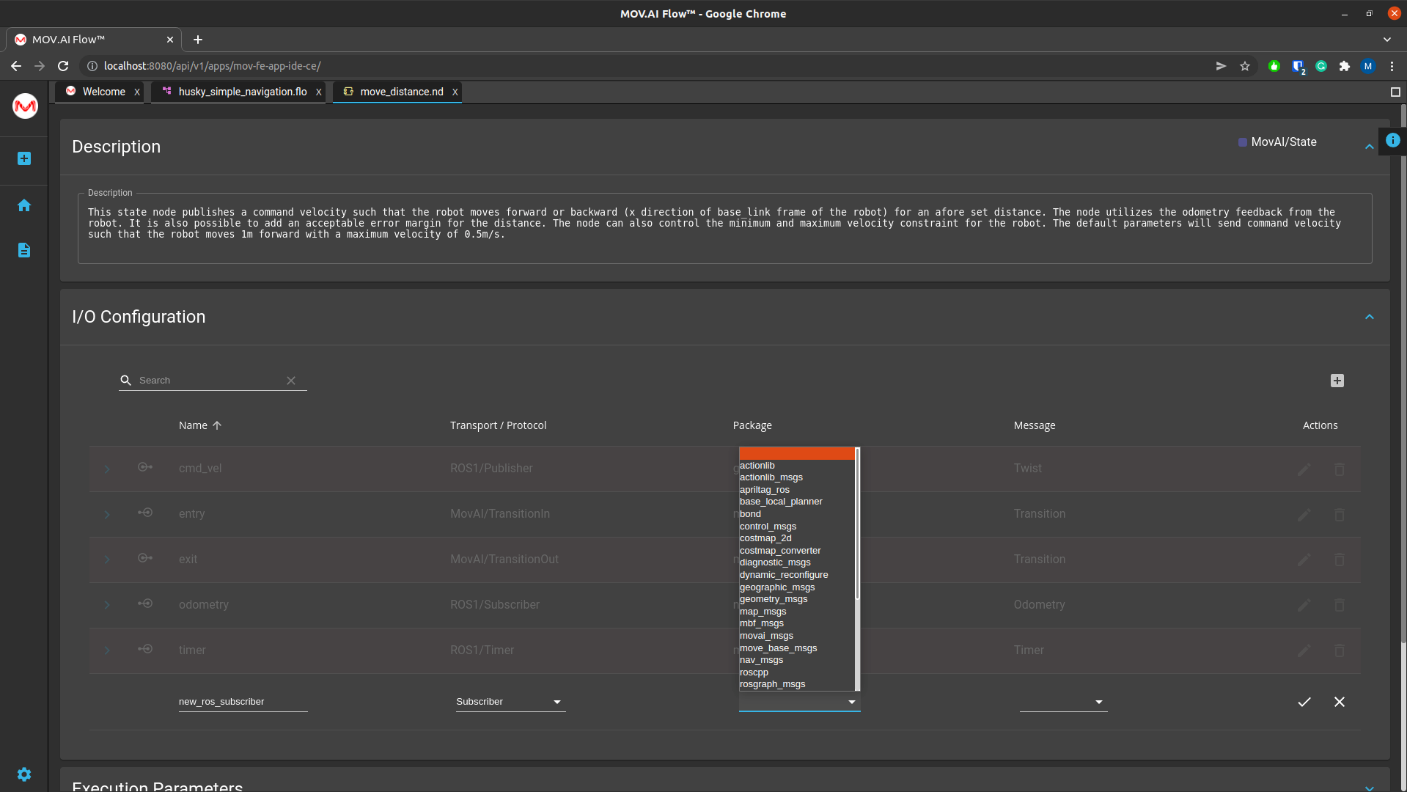
The package that you select in the Package dropdown, determines the options offered for selection in the Message dropdown menu. This is the message to which the port will subscribe.
To configure the input and output ports of a node, you must know the type of messages that it receives/sends. To get more information about message types, you can Google something like ROS Twist Message. The following displays –
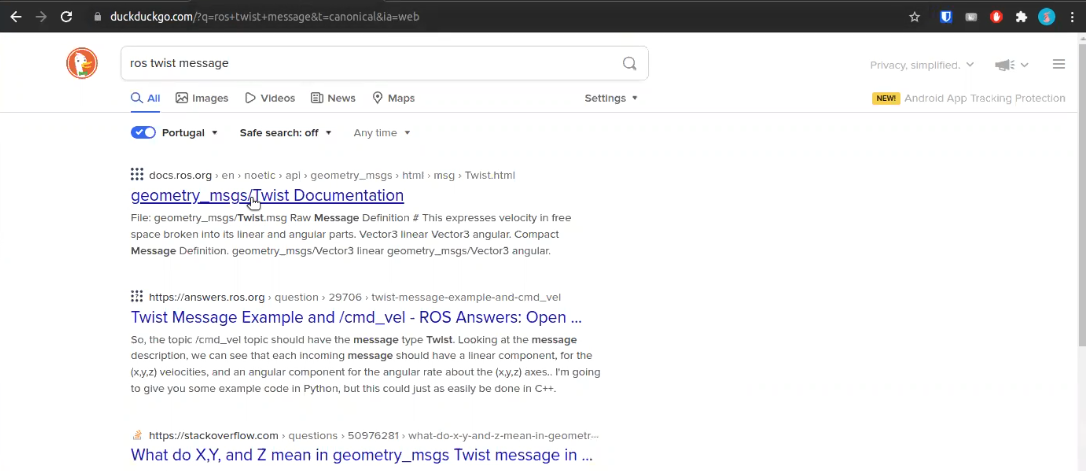
For example, you might go to the doc.ros.org search result. The following displays –
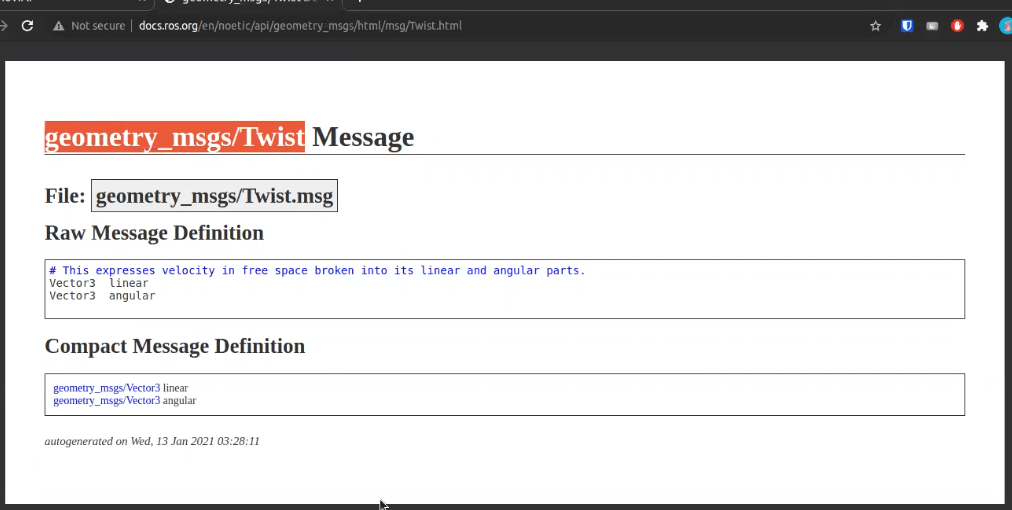
In this case, the Package name is geometry_msgs and the Message name is Twist, as defined below –
Now that we have added another port to the move distance node, it has six ports (represented by six dots) – four input and two output as shown below –
Defining the Callback Code That Is Triggered by a Port
Here's how to add/customize your own Python callbacks that are triggered by the input or output ports of flows.
You can –
- See which callback is triggered by a port in an existing flow
- Create a new callback
- Define the callback that is triggered by a I/O Configuration port
- View/edit the Python code of the selected callback
Note – The order that the I/O configuration ports are launched (and their callbacks) is determined by their protocol (not how they are listed in the window below). For example, a MoveAI/TransitionIn protocol message runs first. Therefore, the callback defined for the I/O configuration port named entry (shown above) is the first piece of code that runs when the node starts.
Seeing which Callback is Triggered by a Port
To view which callback is triggered by a port when it receives a message –
- Hover over a node’s port in the flow diagram to display information about its communication configuration (meaning its name, message and protocol) in a tooltip. The selected port turns green. This tooltip also shows the callback that is triggered by this port, as shown below –
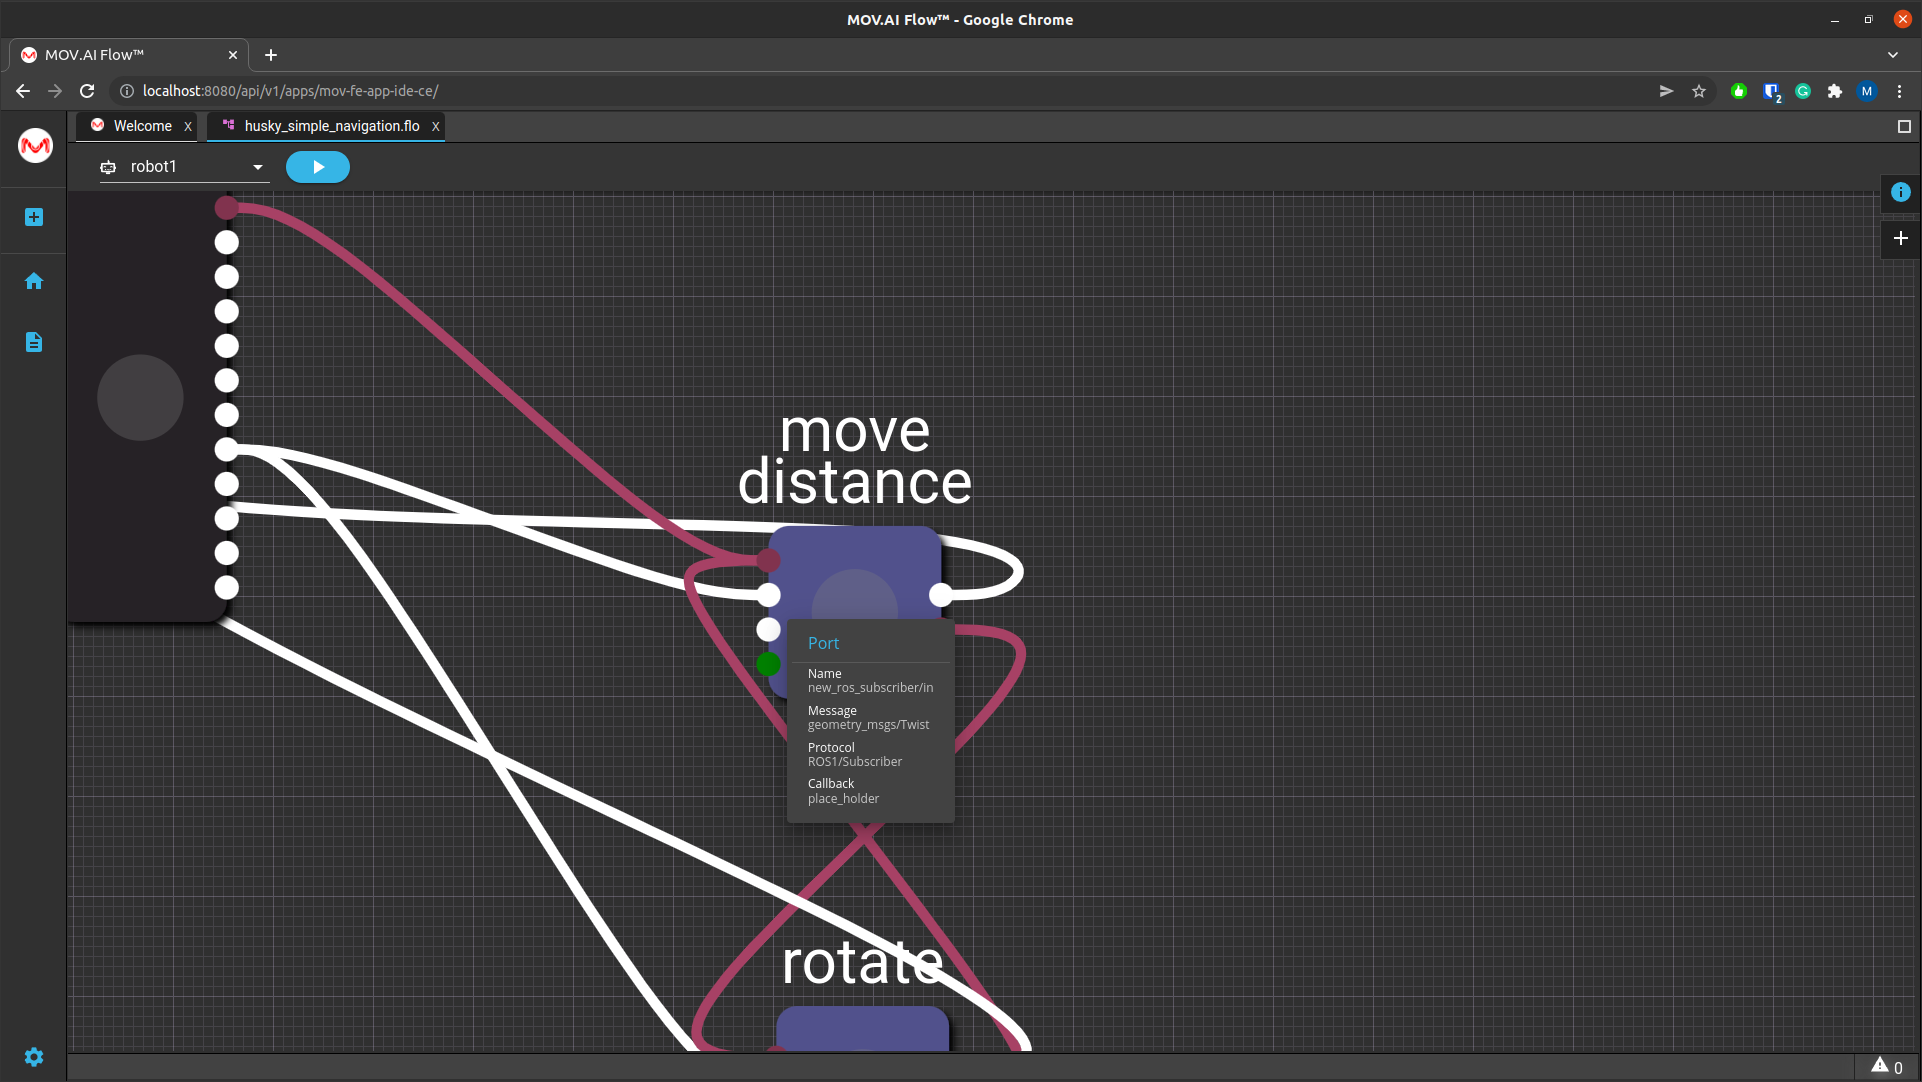
Note – If you would like to display the actual call ack code, then open the template of this node and look at its I/O configuration, as described in IO Configuration.
Adding a New Callback
To add a new callback –
- Click the New + button. A popup window displays in which you can add a name for this callback and then click the CREATE button. It is typical to assign the callback the name of the node, followed by an underscore and then the name of the port, as shown below –
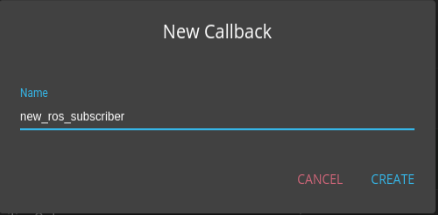
The following displays in which you can enter the code for this callback –
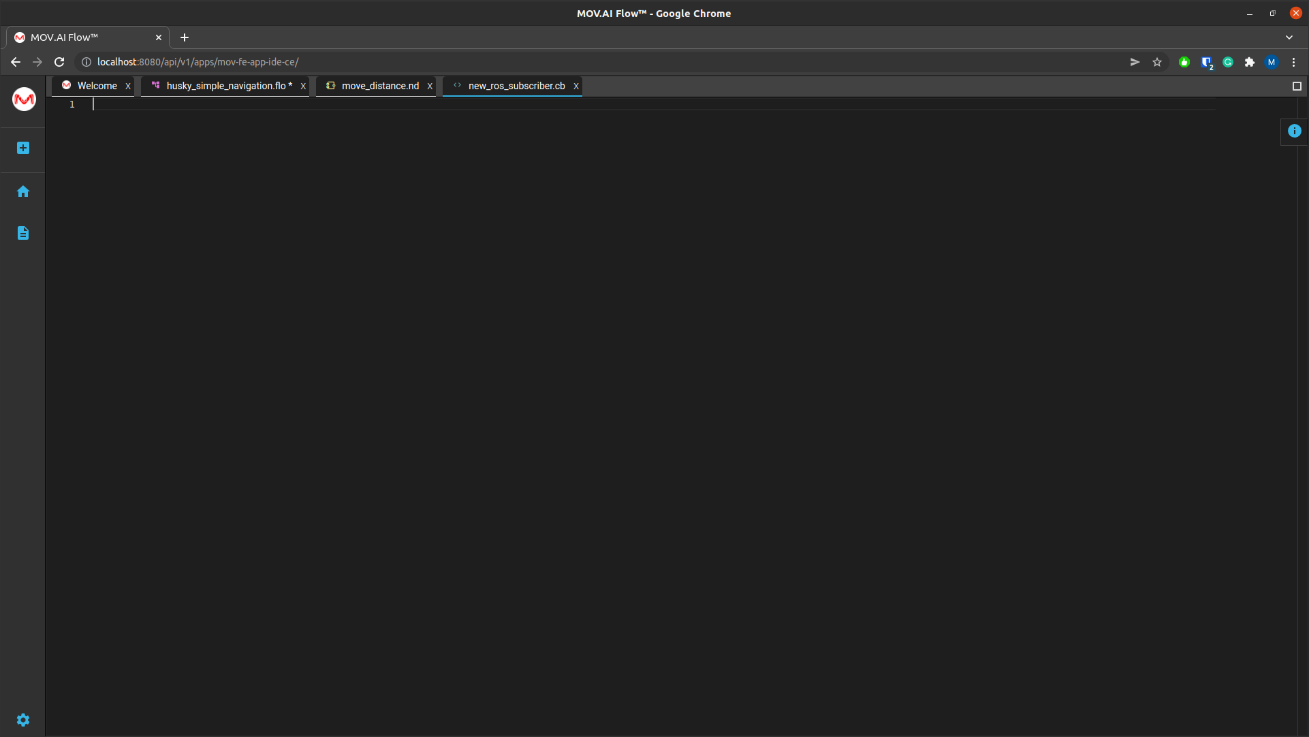
- Enter the callback code.
- Click Ctrl + S to save this call back.
Defining the Callback that is Triggered by a Node's Port
To define the callback that is triggered by an I/O Configuration port –
- Double-click on the node in a flow to display the node template settings. The following displays –
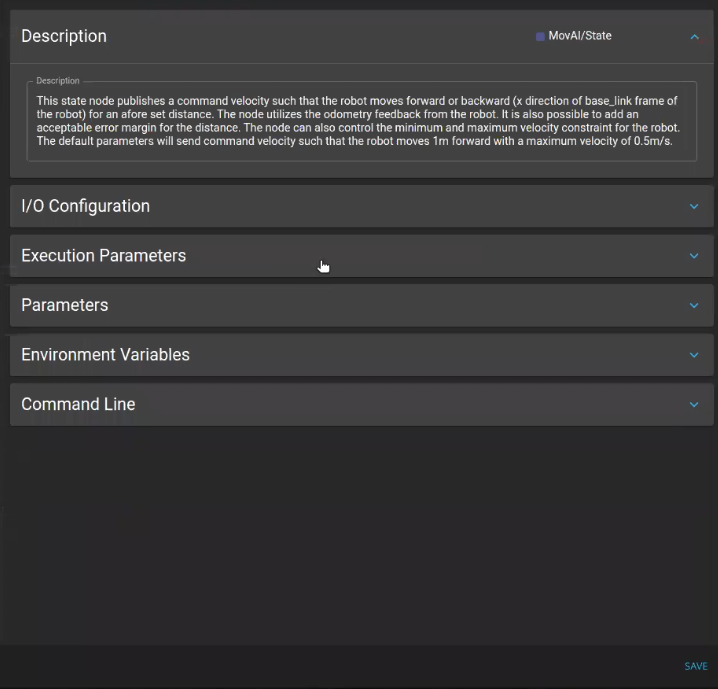
- Expand the I/O Configuration section to configure it, as shown below –
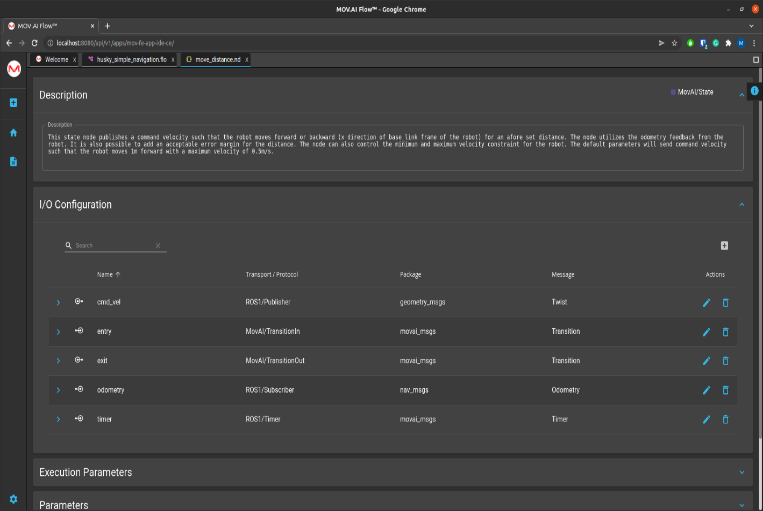
-
Click on the the Edit
 button in the row of the port to which to add the callback.
 -
To select a callback that is already defined in MOV.AI, click the Select
 button. A popup window displays in which you can select a callback.
 -
Click the Callback branch to expand it and then click one of the callback names.
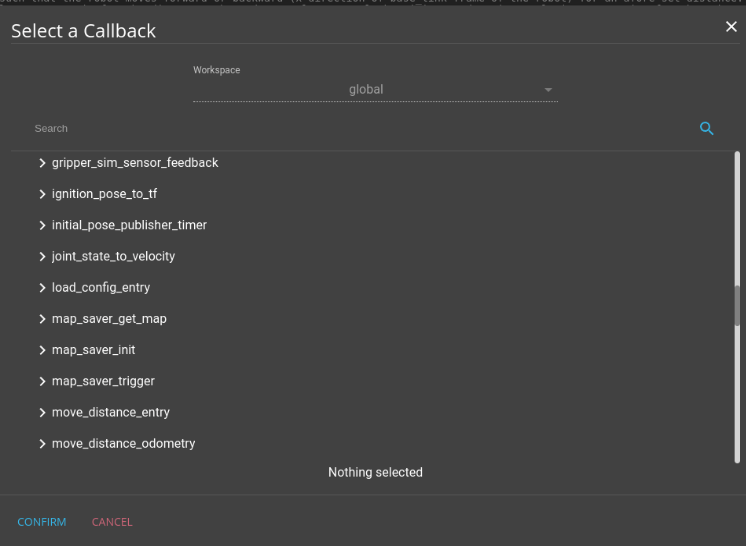
The callback that you select expands to show its version number, as shown below –
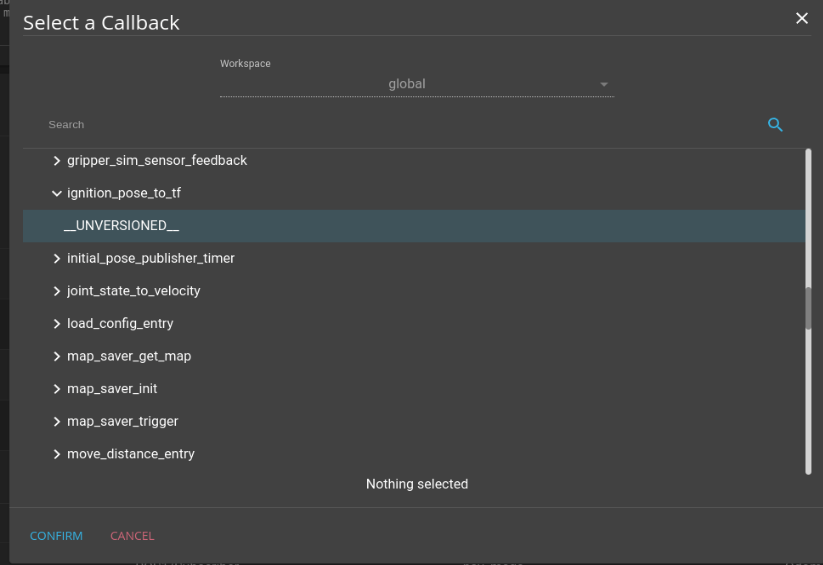
-
Click on the relevant version number.
-
Click the CONFIRM button.
-
Click Ctrl + S to save.
Editing/Viewing Callback Code
To view/edit the Python code of a selected callback –
- Click the Edit
 button to display a Python code text editor. For example, the following shows the callback associated with the entry port named move_distance_entry.
This is just an example of a callback that you can enter. Our objective here is just to show you how easy it is to manage and connect the callbacks that you write in order to program your robot’s behavior.

Updated 9 months ago
