Demo 1 - Simple Navigation
Introduction
Here’s where we show how easy it is to move the robot, as well as read robot sensors.
This flow demonstrates MOV.AI’s Simple Navigation using robot odometry and location awareness feedback. This demo shows how a Husky robot or a Tugbot robot can be navigated in a square pattern of 2 m x 2 m in the Depot world simulation provided in the Ignition Gazebo.
The move_distance node is used to send a velocity command in the X direction of the robot until the robot has moved a specific distance, which is verified using the wheel odometry feedback. The rotate function operates in a similar manner.
As the robot travels in squares, you will see that the feedback from the wheels’ odometry causes accumulative errors so that the robot is drifting away from its initial starting point and is not repeating the same square pattern.
The move_distance node is used to send a velocity command in the X direction of the robot until the robot has moved a specific distance, which is verified using the wheel odometry feedback.
The rotate function operates in a similar manner.
Both
move_distanceandrotatenodes accept user parameters that can control the desired motion.
Watch the Control of a Husky Robot
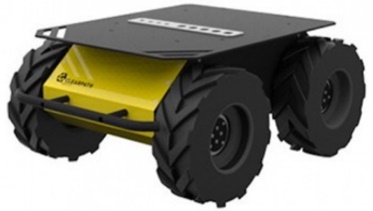
To experience the ease of robot navigation with MOV.AI Flow –
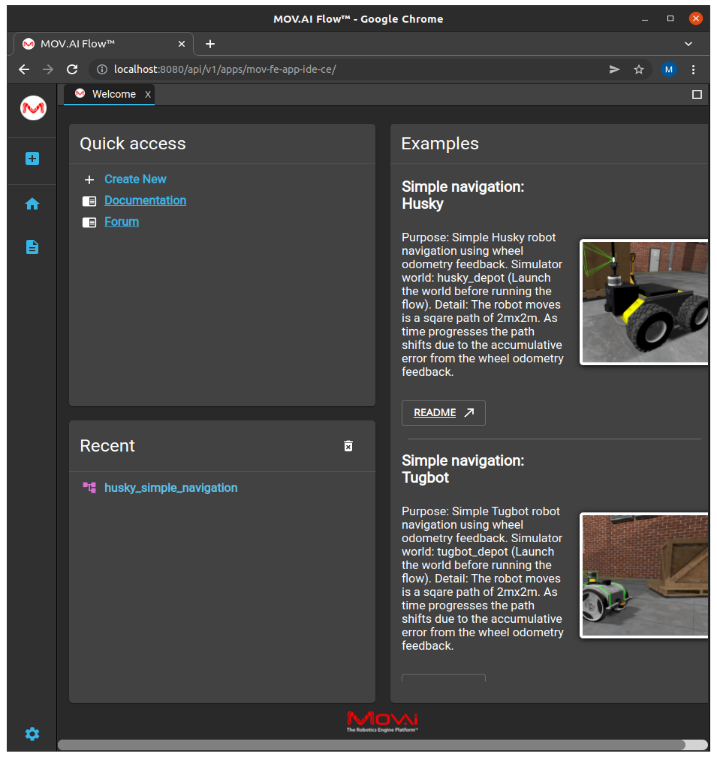
- Launch MOV.AI Flow™ and open the Simple Navigation: Husky demo, as described in Launching MOV.AI Flow™. The following displays –
- If you haven’t already done so, then launch the fuel.ignitionrobotics.org/movai/worlds/husky_depot simulator in Gazebo Fortress using the MOV.AI Simulator Launcher, as described in Launching the Gazebo Fortress Simulator.
-
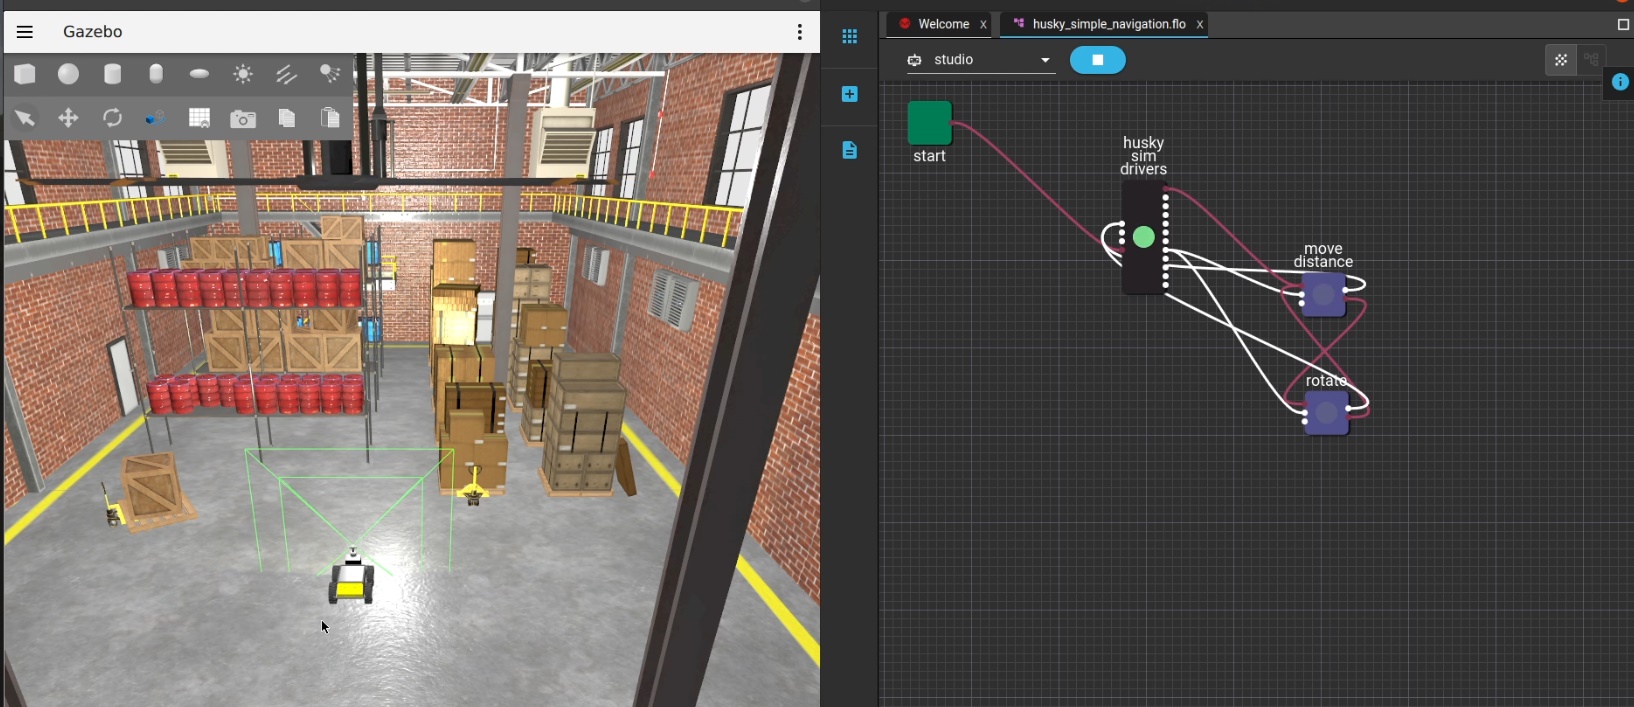
MOV.AI Flow™ – One side of your desktop should display MOV.AI Flow’s integrated development environment showing the ready-made simple navigation flow, as shown on the right above.
-
Gazebo Fortress Simulator – The other side of your desktop should show the designated Gazebo Fortress simulator provided by MOV.AI Flow, as shown above on the left above. MOV.AI Flow provides full and transparent integration with Gazebo Fortress so that you can easily build a full simulation of your own robot and its behavior in the scene in which it operates and then creates the controllers that operate the robot and received data from its sensors.
A Husky robot appears in the middle of the warehouse.
The husky_sim_drivers node represents the Robot, its inputs and outputs are directly connected to its simulated sensors and actuators. This node makes the bridge between the simulation Robot and ROS.
Note – FYI, if you had wanted to manually select the Simple Navigation: Husky flow, instead of doing the above, you could have expanded the Flow branch in the left pane and selected the flow named husky_simple_navigation.
- Click the Play
 button in MOV.AI Flow to watch the robot travel in a rectangular pattern – it goes forward, turns right, turns right again (back) and then turns right again – and repeats forever.
Green dots start flashing on the nodes in the flow diagram on the right as they execute.
Watch the Husky robot travel in a rectangle.
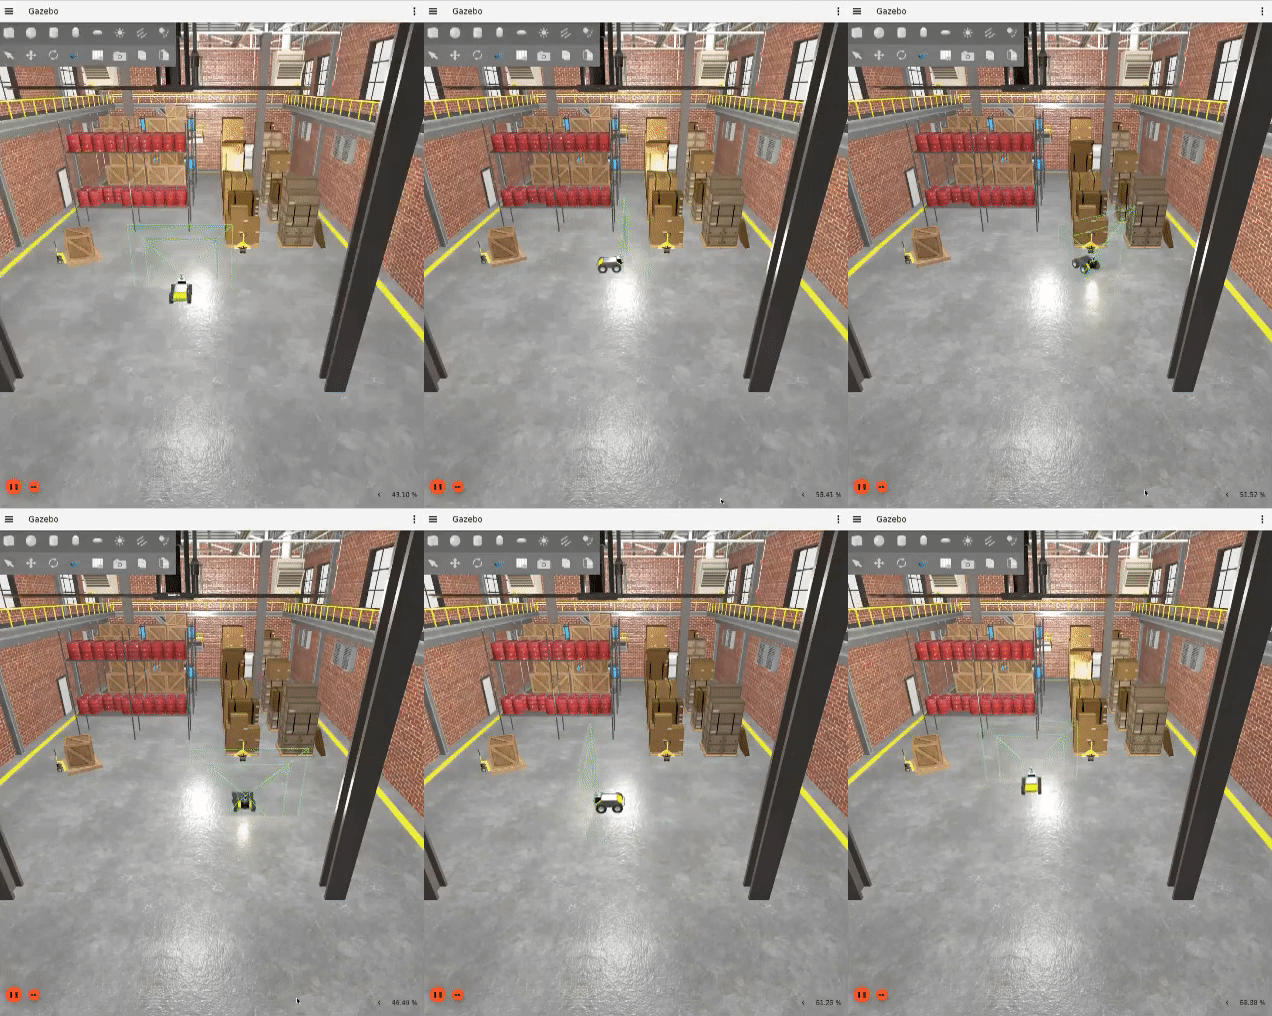
Here's a small taste. Click below to see the full video.
 Watch Husky robot control!
Watch the Control of a Tugbot Robot
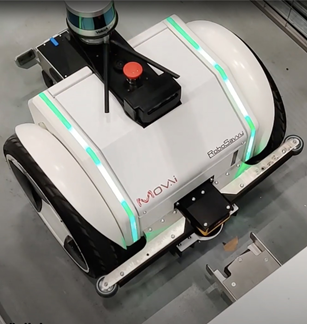
Let’s see the same demo on a Tugbot robot.
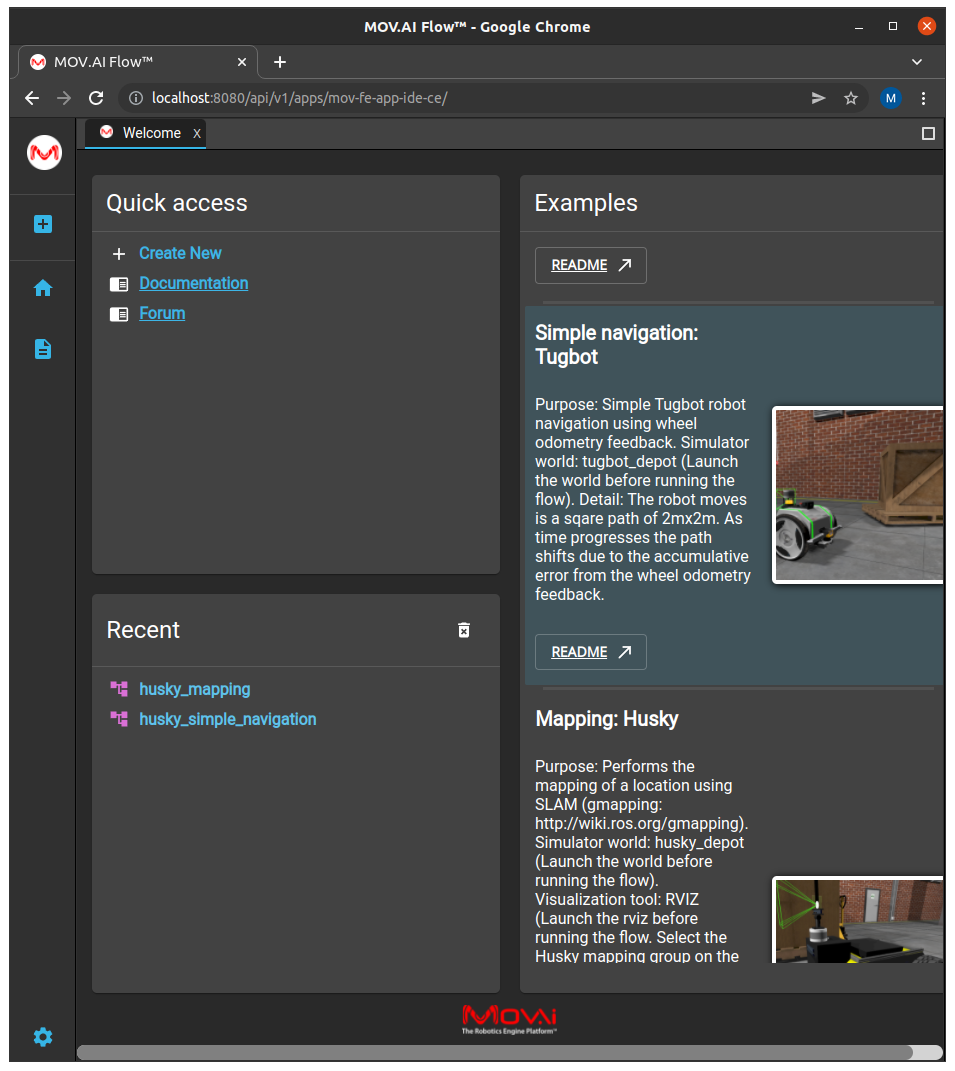
- Launch MOV.AI Flow TM and open the Simple Navigation: Tugbot demo, as described in Launching MOV.AI Flow™. The following displays –
- Launch the fuel.ignitionrobotics.org/movai/worlds/tugbot_depot simulator in Gazebo Fortress using MOV.AI’s simulator launcher, as described in Launching the Gazebo Fortress Simulator. The following displays –
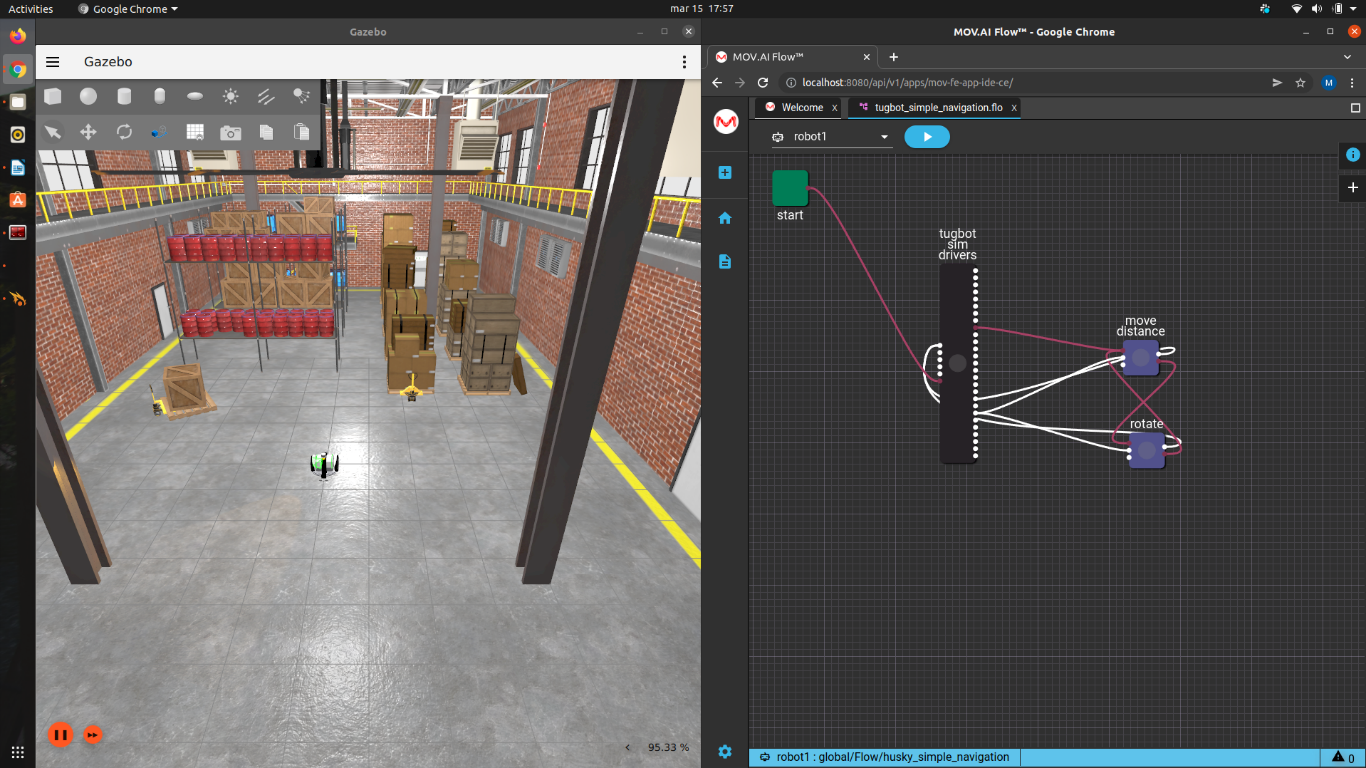
A Tugbot robot appears in the middle of the warehouse.
The same flow diagram is displayed as for the Husky robot, as well as the same warehouse, except that it has a Tugbot robot there now. The flow diagram has all the same nodes with all the same parameters, except that the black husky sim driver subflow shown in the flow diagram has been replaced by a tugbot sim driver subflow.
Note – FYI, if you had wanted to manually select the Simple Navigation: Tugbot flow, instead of doing the above, you could have expanded the Flow branch in the left pane and selected the flow named tugbot_simple_navigation.
- Click the Play
 button in MOV.AI Flow to watch the robot travel in a rectangular pattern – it goes forward, right, right again (back) and then right again – and repeats forever.
Green dots start flashing on the nodes in the flow diagram on the right as they execute.
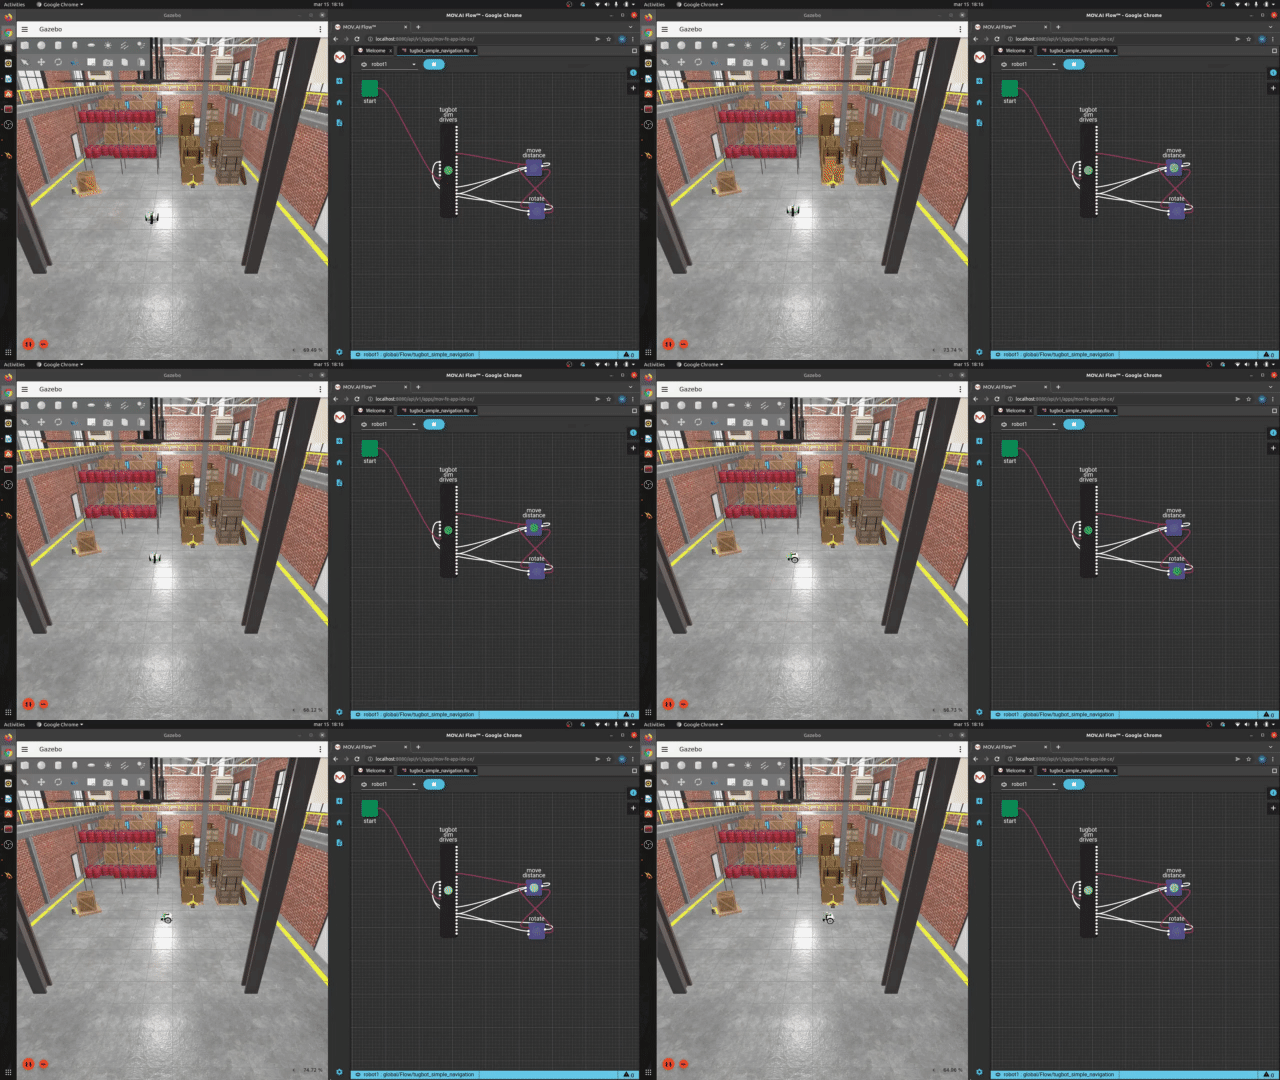
Here's a small taste. Click below to see the full video.
 Watch Tugbot robot control!
What Do You See in This View?
MOV.AI provides a variety of ready-made flows and nodes that are fully aware and equipped to handle the task of robot automation. After you have perfected a flow in MOV.AI, it can be used in a real robot or in a simulator to determine the robot’s autonomous behavior.
What Is a Flow? – A flow is a unique MOV.AI construct that is a visual representation of the behavior to be executed by a robot. In MOV.AI, a flow is displayed as a diagram of colored nodes and connections between nodes (each represented by color-coded lines). White lines represent the transmission of information and pink lines indicate the runtime execution sequence of states. These lines represent physical connections and communication between software and hardware components of the real or simulated robot. When the flow is running, the nodes light up with a green dot as they execute.
What Is a Node? – In MOV.AI, a node is a user interface element that represents an executable that operates within the MOV.AI framework. Nodes enable you to define autonomous mobile robot behavior by dragging and dropping them into a graphic flow diagram and setting a few parameters in MOV.AI’s graphic user interface in order to achieve robotic tasks comprised of complex logic and conditions. A node defines an executable that can receive input messages on various protocols and can broadcast output messages. A node may also be a ROS node (https://wiki.ros.org/Nodes).
In a flow diagram –
- ROS1/Nodes – Brown nodes are ROS community nodes.
- Black nodes represent subflows, which you can click to display the flow that they represent.
- MOV.AI/State – Purple nodes are state nodes, meaning nodes that are initiated, execute something and then are extinguished.
- MOV.AI/State – Red nodes have been created by MOV.AI.
Updated 10 months ago
