Defining a Robot’s World
This topic provides an overview of how to use Gazebo Fortress to create a simulated work environment (world) in which a simulated robot can operate.
This step assumes that you have already defined a robot (as described in SDF File Overview), as well as its sensors and controllers/plugins.
Defining a Robot’s World in Gazebo Fortress
To define a robot’s environment in Gazebo Fortress –
1 To open the Resource Spawner, click the  icon in the top right corner of the Gazebo window.
2 In the displayed search window, type Resource Spawner and then click on it, as shown below –
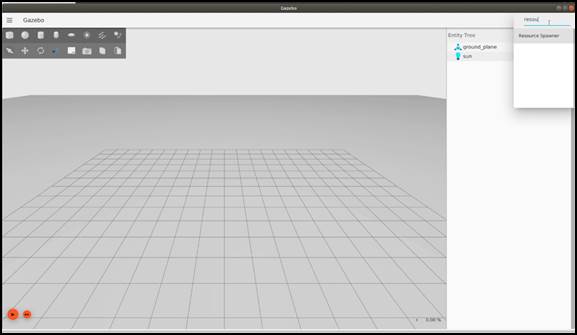
The following displays –
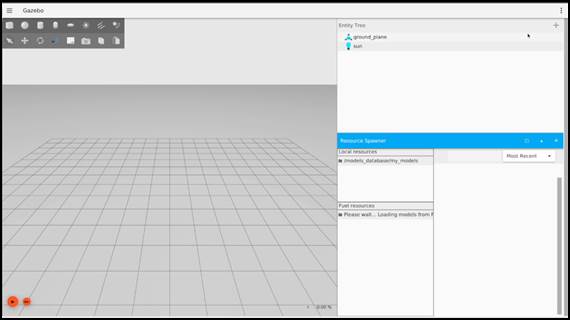
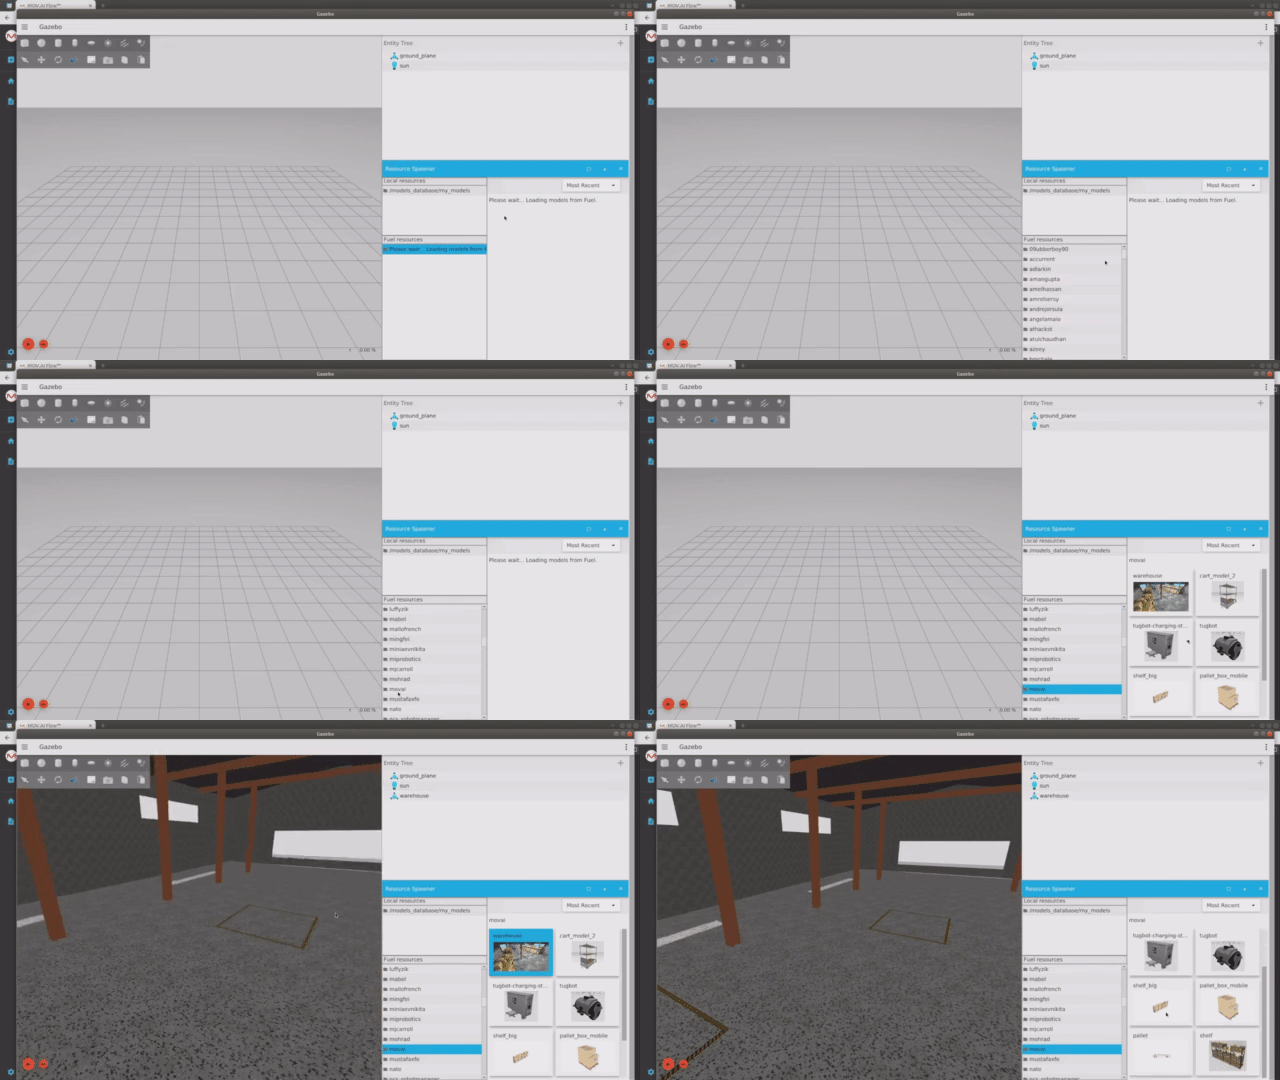
3 Wait while the Fuel resources download. The message Please wait… is displayed in the Fuel resources section at the bottom middle of the page.
You can watch what we’ve done till now here –
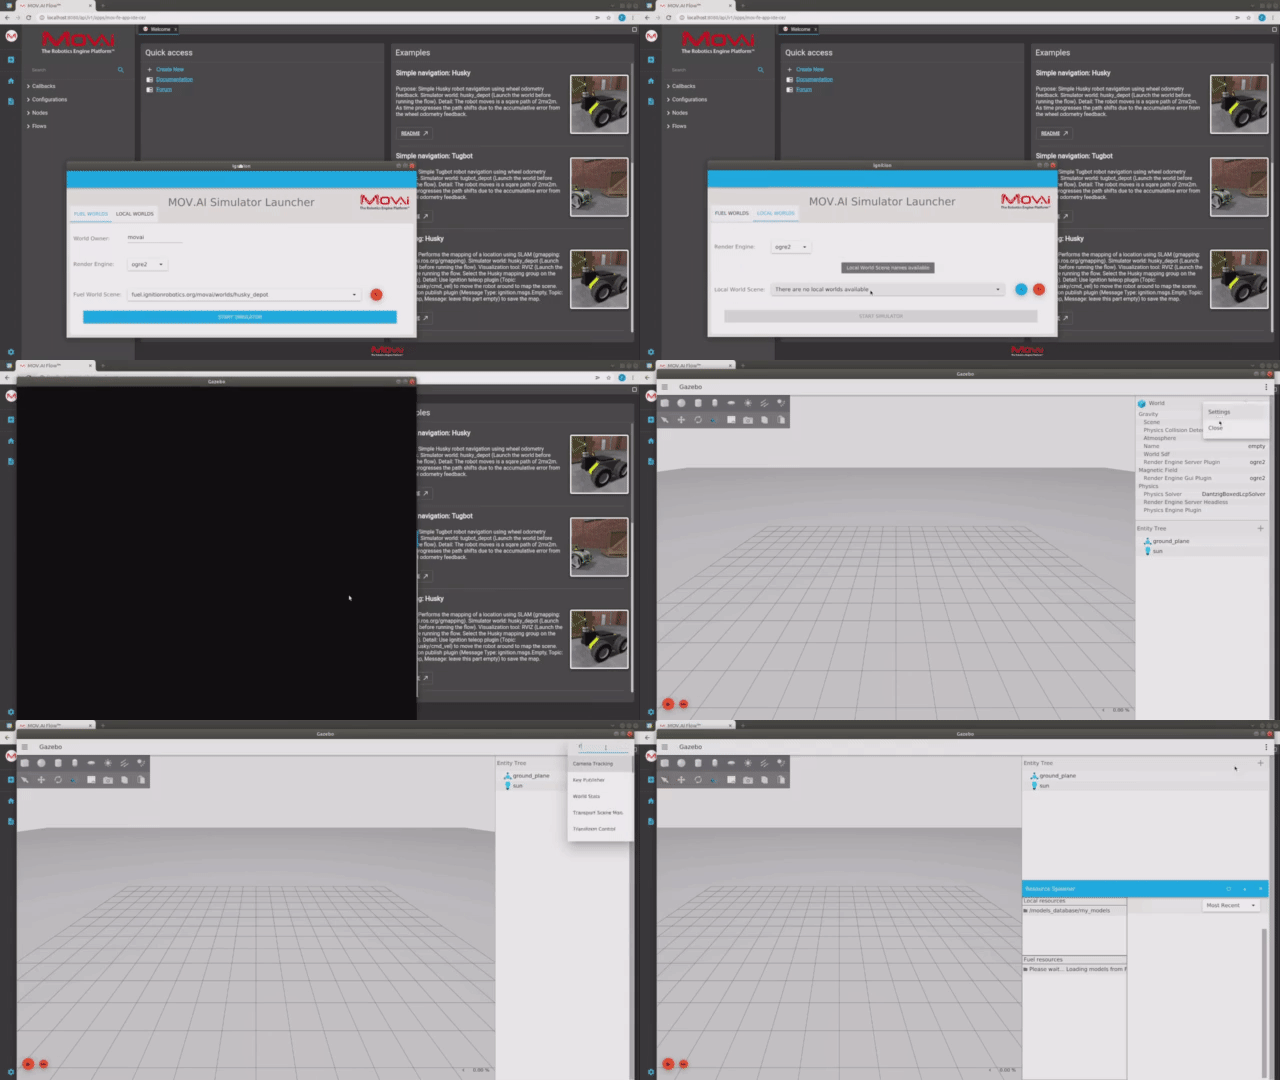
Here's a small taste. Click below to see the full video.
 Watch the next steps!
4 After the Fuel resources displays, scroll down and click on the mov.ai resource. The following displays showing the models that MOV.AI Flow provides in Fuel resources –
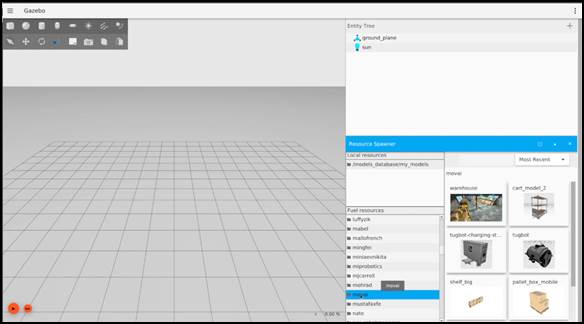
MOV.AI Flow provides a variety of models that you can drop into your scene to build a warehouse world.
The first model that you should drop into your scene is the entire warehouse environment, which includes the floor, walls and columns in this sample warehouse world.
5 Add the warehouse model to your scene by clicking on it in the MOV.AI Flow Fuel resources pane on the right, waiting for it to load and then clicking on the scene to place it in the scene. The following displays –
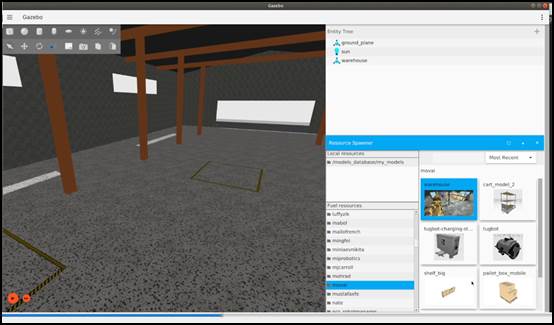
While you wait for a model to load, it appears on the cursor as a generic shape. After it has loaded, it appears the same as the model in the Fuel resources pane.
For example, the following displays on the cursor while the cart_model_2 model is loading –

And, the following displays on the cursor after the cart_model_2 model has loaded –

6 Start filling in the scene by dragging and dropping models from the mov.ai Fuel resources pane on the right into the scene, as needed. For example, a shelf.
7 Add as many models as you want in order to populate the world, such as the tugbot_charging_station.
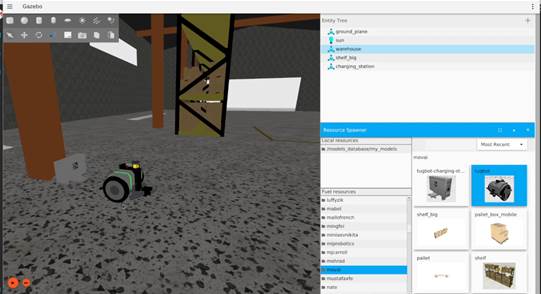
8 You can also add lighting in Gazebo using the  tool.
tool.
You can watch what we’ve done till now here –
Here's a small taste. Click below to see the full video.
 Watch the next steps!
Saving Your New Robot's World
To save your new robot work environment –
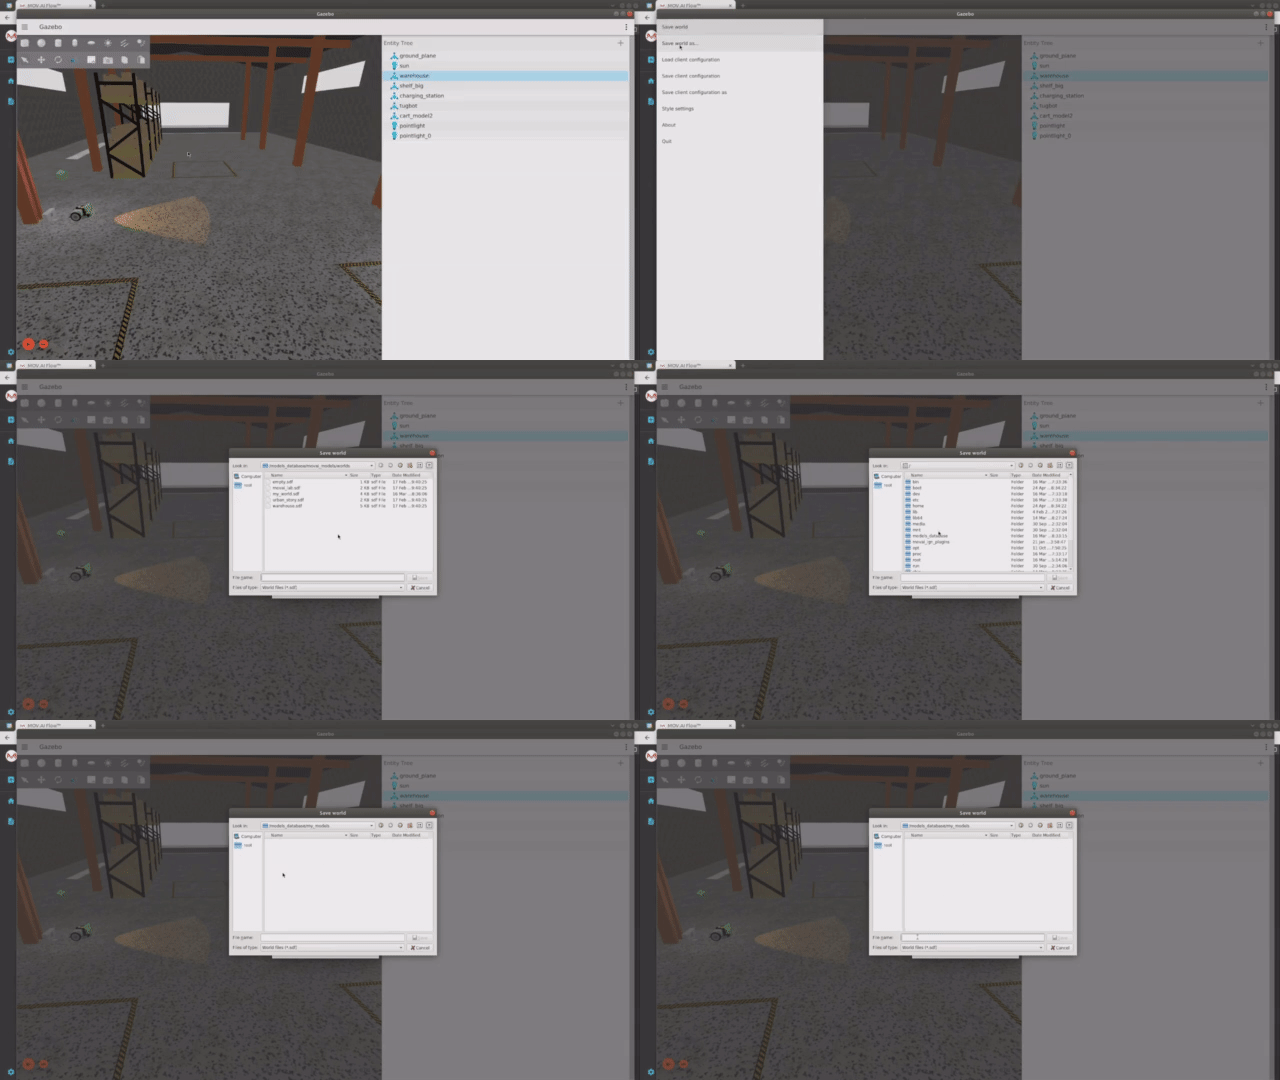
1 Click the Menu  icon in the top left corner of Gazebo.

2 Select the Save world as… option. The following displays –
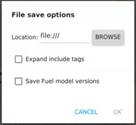
3 Click the BROWSE button. The following displays –
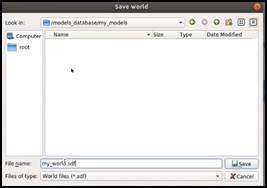
3 In the Look in field at the top of this window, select the /models_database/my_models folder.
4 In the File name field, enter any name for your model.
5 Click the Save button to create an SDF file.
6 Click the OK button.
Note – You can also share this scene with someone else who is working with you.
You can watch what we’ve done till now here –
Here's a small taste. Click below to see the full video.
 Watch the next steps!
Opening Your New Robot Work Environment (World)
To open your robot work environment –
1 Close the Gazebo Fortress application by clicking the X in its top right corner.
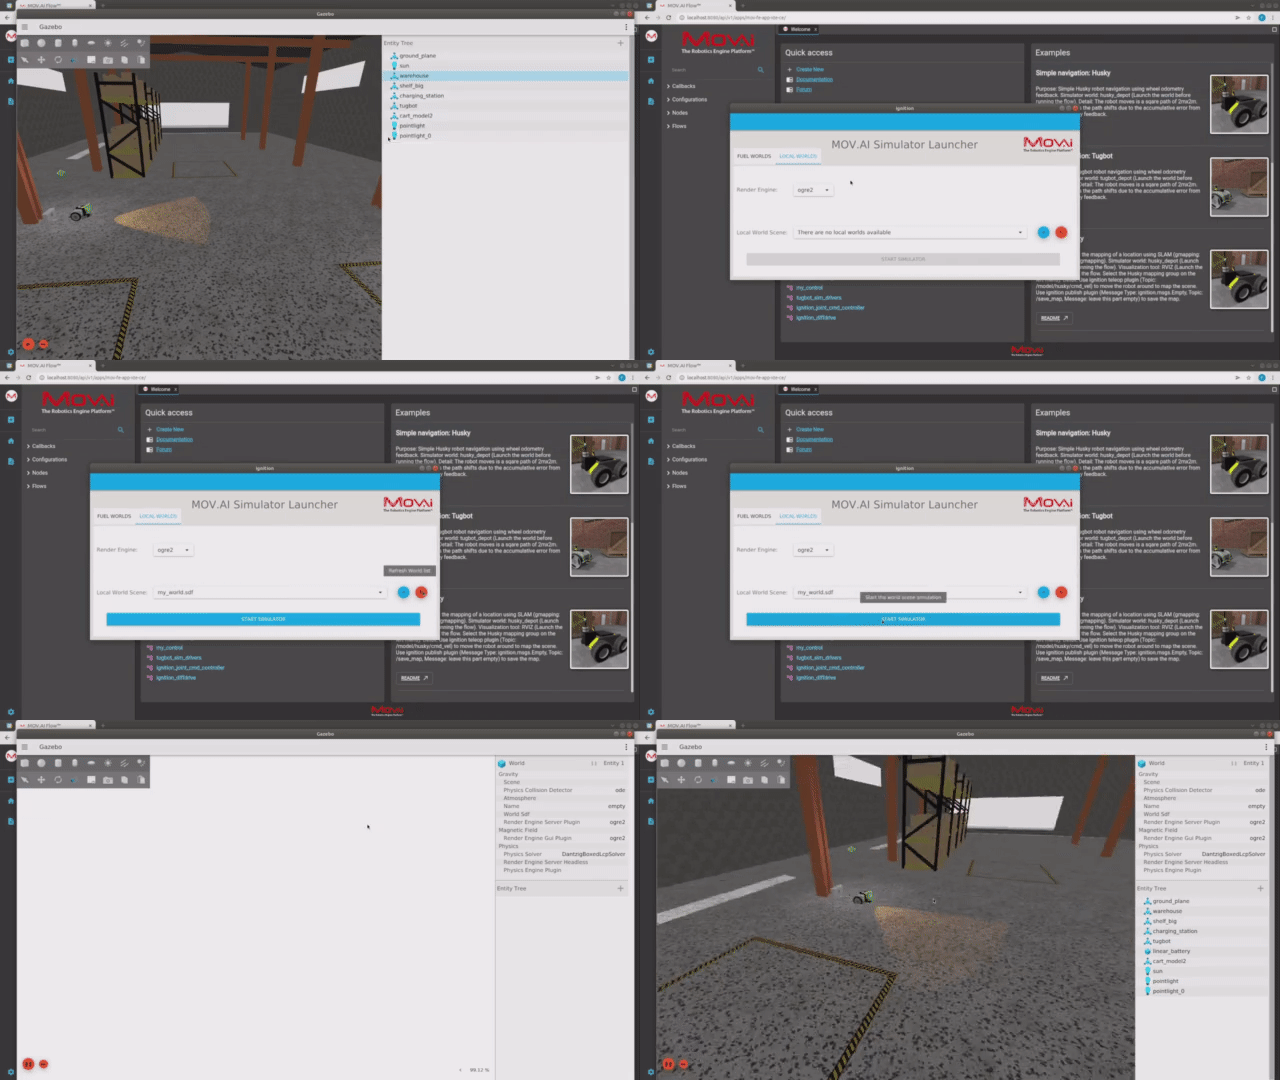
2 Redisplay the MOV.AI Simulator Launcher window, which should still be open, as shown below –
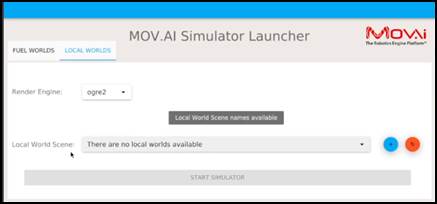
3 Click the  button to refresh the list of worlds that appears in the Local World Scene dropdown menu. The new robot work environment that you defined (as described above) now appears. For example, my_world.sdf as shown below –
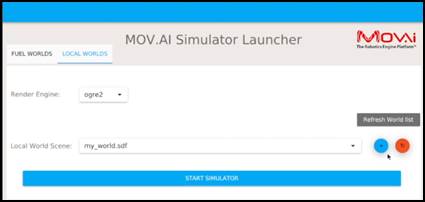
4 Select the new robot work environment that you defined in the Local World Scene dropdown menu.
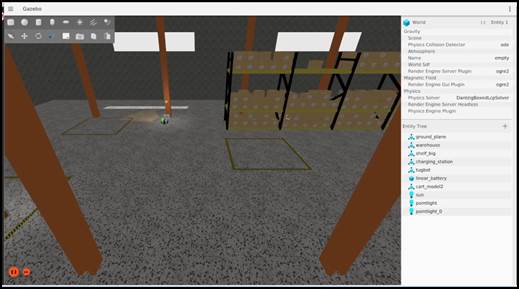
5 Click the START SIMULATOR button. Gazebo then displays showing your new robot work environment. For example, as shown below –
You can watch what we’ve done till now here –
Here's a small taste. Click below to see the full video.
 Watch the next steps! ===
Creating Your Own Mesh in Blender
The following describes how you can create your own mesh in Blender™ (https://www.blender.org/) and then import it as an object into the Gazebo simulation.
To create your own mesh in Blender and use it in your Gazebo simulation –
1 Create the relevant mesh in Blender. Here’s a link to a tutorial provided by Gazebo Fortress that describes how to create objects in Blender - https://Ignitionrobotics.org/api/Gazebo/6.2/model_and_optimize_meshes.html
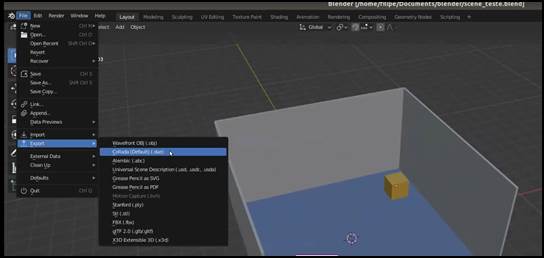
2 From the File menu, select the Export option.
3 Select the Wavefront OBJ (.obj) option or the Collada (.dae) option to specify the format in which to export it, as shown below –
4 Select the MOV.AI simulator …/models_database/my_models folder to which to export.
5 Click the Export button.
6 Close the Blender application.
7 In Gazebo Fortress, in the Entity tree, click the  , as shown below –
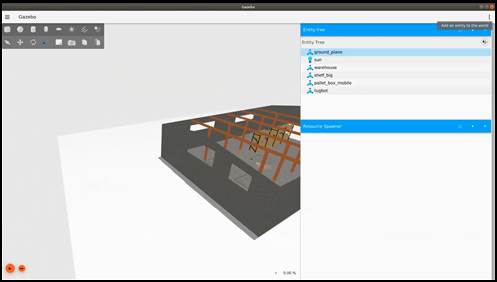
8 In the dropdown menu that is displayed, select the Mesh option, as shown below –
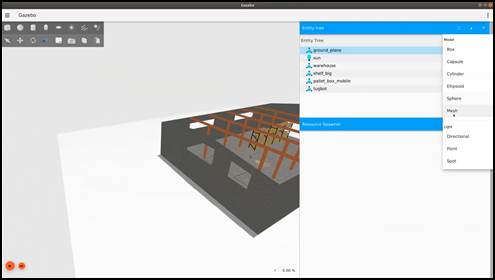
The following displays –
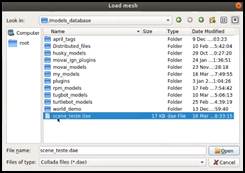
9 In the Look in field at the top of this window, select the / models_databasefolder.
10 Select the scene_teste.dae file and click the Open button. This new object is now attached to your cursor.
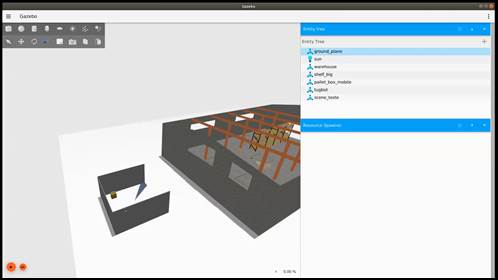
11 Click in the scene to drop it there. For example, as shown below –
Adding Any Other Resources to Your Robot’s Work Environment
You can also select models for any of the other resources, meaning other that mov.ai.
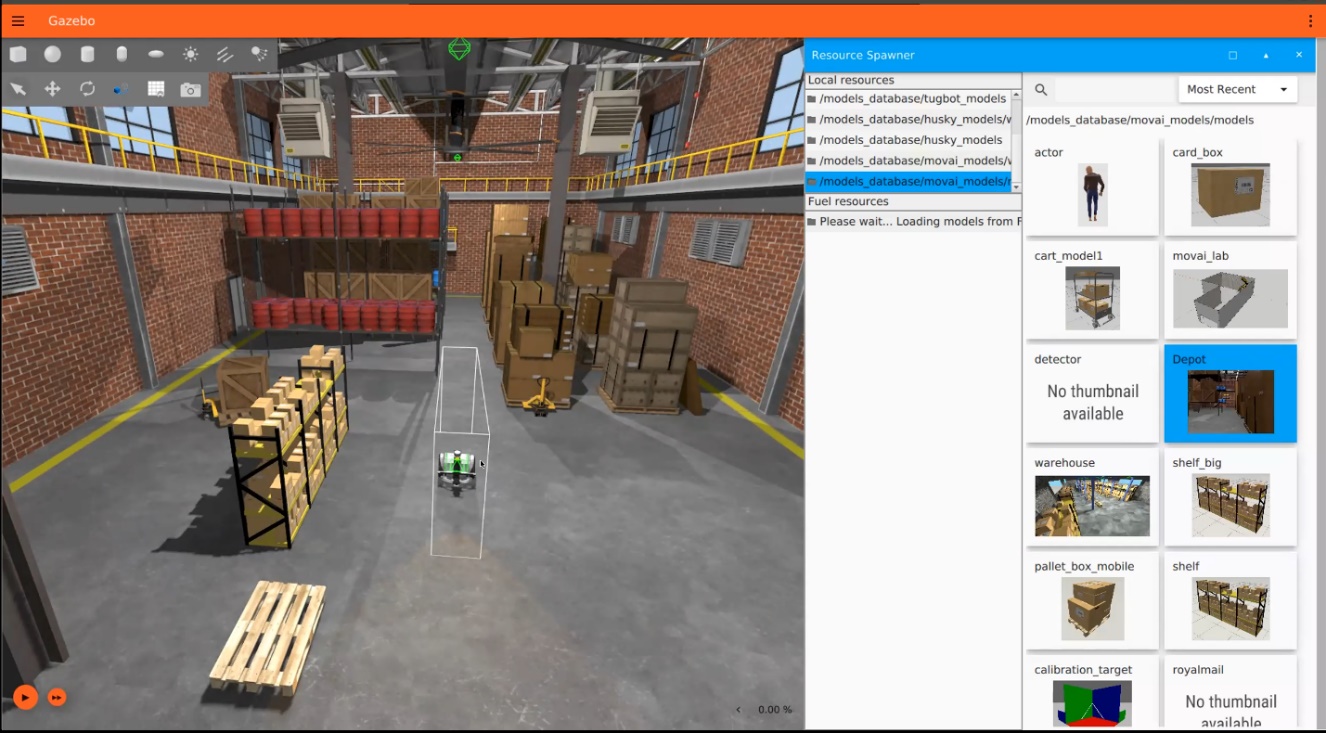
For example, OpenRobotics has created a sample scenario called Depot, which is available in Fuel. You can use it as a basis for your robot scenario (instead of the above) by simply dragging and dropping it into the scene.
Adding Any Robot to Your Robot’s Work Environment
To add any robot to the work environment –
1 Open up Gazebo Fortress’s model community repository by navigating to HTTPS://app.Ignitionrobotics.org/fuel/models. This repository contains robot models placed there by ROS community members.
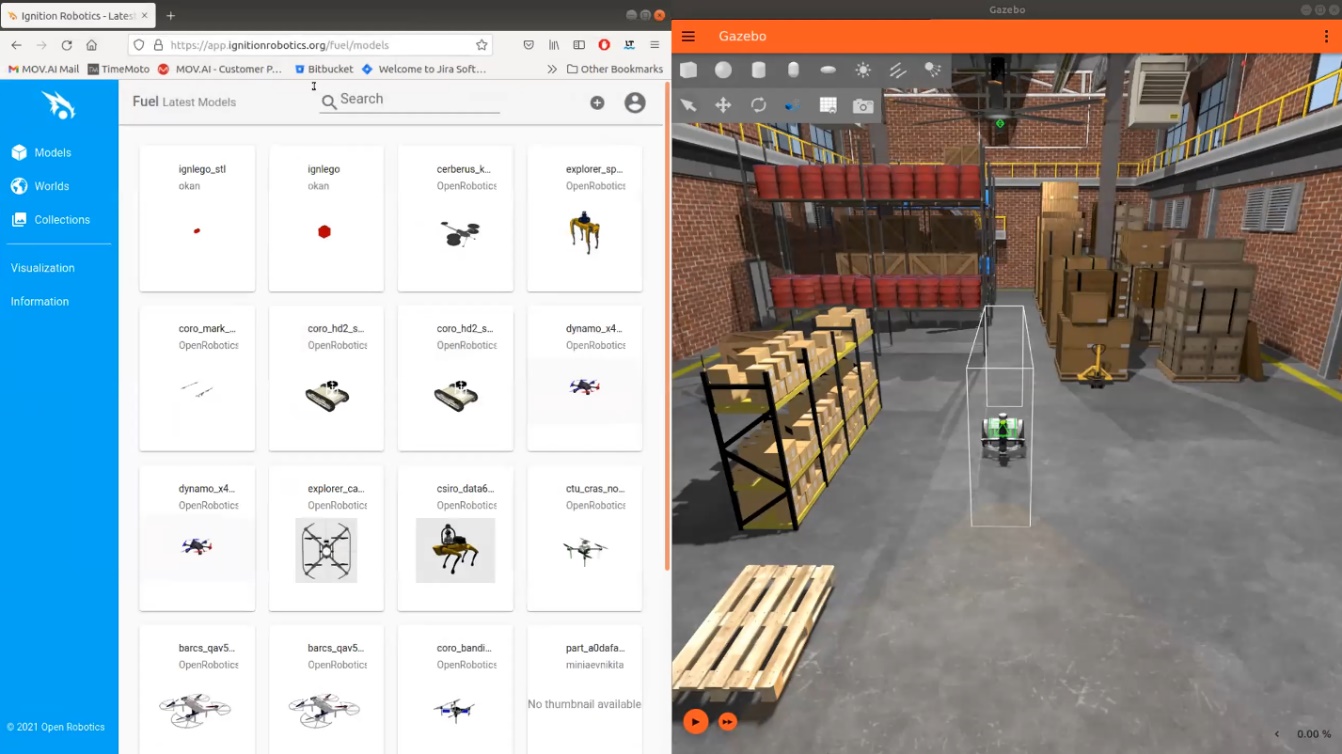
2 Select a model that represents a real robot by searching for its name. For example, type the word Panda in the search field.
3 Clicking on one of the displayed robot options displays it in more detail. For example, the Panda robot is available in FUEL, as shown below.
Note – The Tugbot robot may soon also be available in FUEL.
4 Use the Drag me! feature that is provided for each model to drag and drop it into the scene, as shown below –
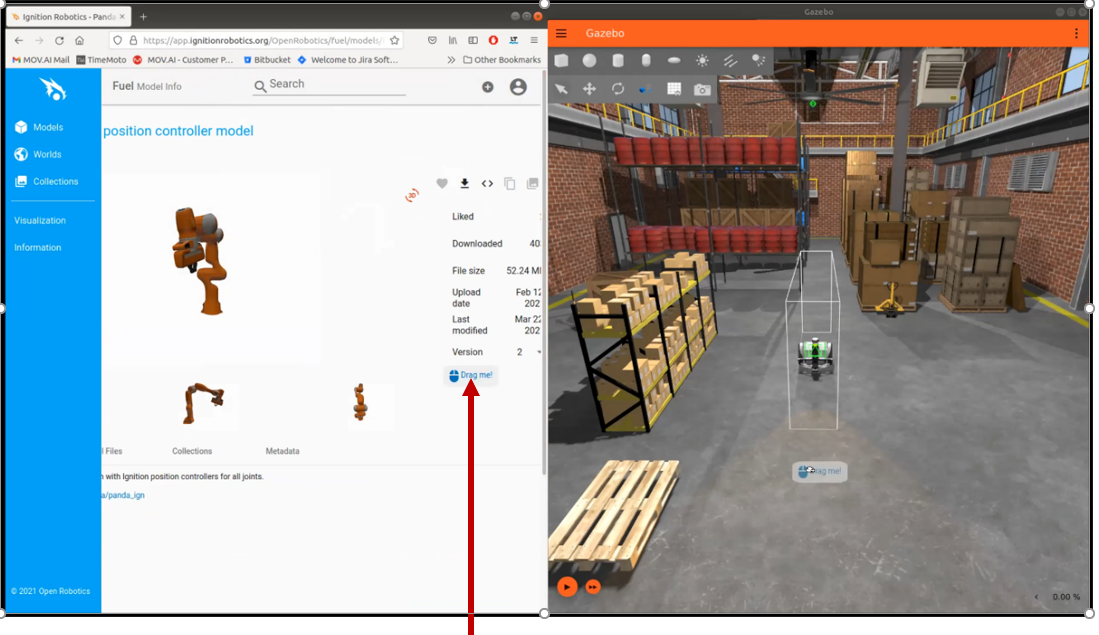
Wait a few minutes for the robot’s model to download and to appear in the scene. The downloaded model consists of the visual representation of the robot, which includes all its joints, movements, sensors and movement abilities.
This robot is now waiting for a controller to be added to it in order to command its actual behavior, such as to move its joints and motors.
Defining Your Robot's Drivers and Behavior
MOV.AI Flow enables you to define the behavior of the robot by providing the connection between MOV.AI flows and the robot inside the Gazebo Fortress simulator as explained in Simulated Robot ROS Drivers.
The behavior that you define in MOV.AI Flow will send the relevant commands to the robot so that it will perform the actions that you specify in the flow, such as a command to rotate its wheels, which speed, which direction and how much. The flows defined in MOV.AI Flow can be created quite easily in order to define complex robot behavior, conditional scenarios and sequences of actions, as described in Creating a Behavior.
Updated 9 months ago
